Doorking Guide: The Basics
Receiving Data | Adding Resident Information | Sending Data
RECEIVING DATA
While making any changes, it is a good idea to receive data first. This is to ensure the data you are changing is the most current and up to date.
To receive data from the panel in the Doorking software follow the following steps:
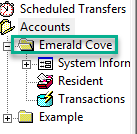
- Make sure your cursor is on the name of the account on the left side of the screen. Otherwise the Receive data button will not show up on the top tool bar:
- Click on the “Rcv Data”
 Button on the top tool bar
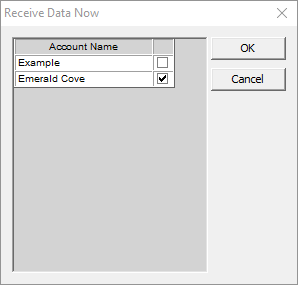
- A new window will open. Make sure your site is checked in the box next to the site name:
Once you do this the session status window will come up. It will show you the status of the communication to the panel. Once this is completed and the status window shows Successful the information will have been updated on your Doorking Software.
ADDING RESIDENT INFORMATION
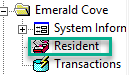
If you click on the Resident Tab on the left side of the window, you will see all of the resident data. This is where you will enter the resident name, phone number, and entry code and/or device number for gate entry.
![]()
- Resident – This is where the resident name will go
- Hide – This is an option if the resident does not want to show up on the Telephone Entry screen, but still has an entry code. Checking this will ensure the resident name does not show.
- AAC – This field is for an area code for the resident’s phone number
- Phone – This is where the resident’s telephone number will go
- Dir – This is the Directory Code. If you do not enter a value, the system will automatically enter a value for you
- Ent – This is the resident’s entry code, usually a 4-digit number
- SL – This is the resident’s security level. Will default to default security level unless other levels are present in system as well
- Device # - This is the location you would enter the device number from any remote or fob given to the resident
SENDING DATA
Once you have made all changes to your system, you will need to send the data to the panel in the field. To do so follow these simple steps:
- Make sure your cursor is on the name of the account on the left side of the screen. Otherwise the Send data button will not show up on the top tool bar:
- Click on the “Snd Data”
 Button on the top tool bar
- A new window will open. Make sure your site is checked in the box next to the site name:
Once you do this the session status window will come up. It will show you the status of the communication to the panel. Once this is completed and the status window shows Successful the information will have been updated on your Doorking control panel.